Hello!
I promised to blog a step by step for the little bag I demo'd at 6pm-actually, I haven't promised anything yet because it's only 5pm and I'm still in the green room waiting to go and do the 6pm show lol, but I will promise to blog, don't think about it too much or you'll get a headache lol.
So, on the assumption I said id do it, and on the assumption you liked the project, here is the step by step....

Start with A4 parchment

The left edge of the parchment is lined up against the side of the largest square, bottom of parchment is lined up with bottom edge of the plate.
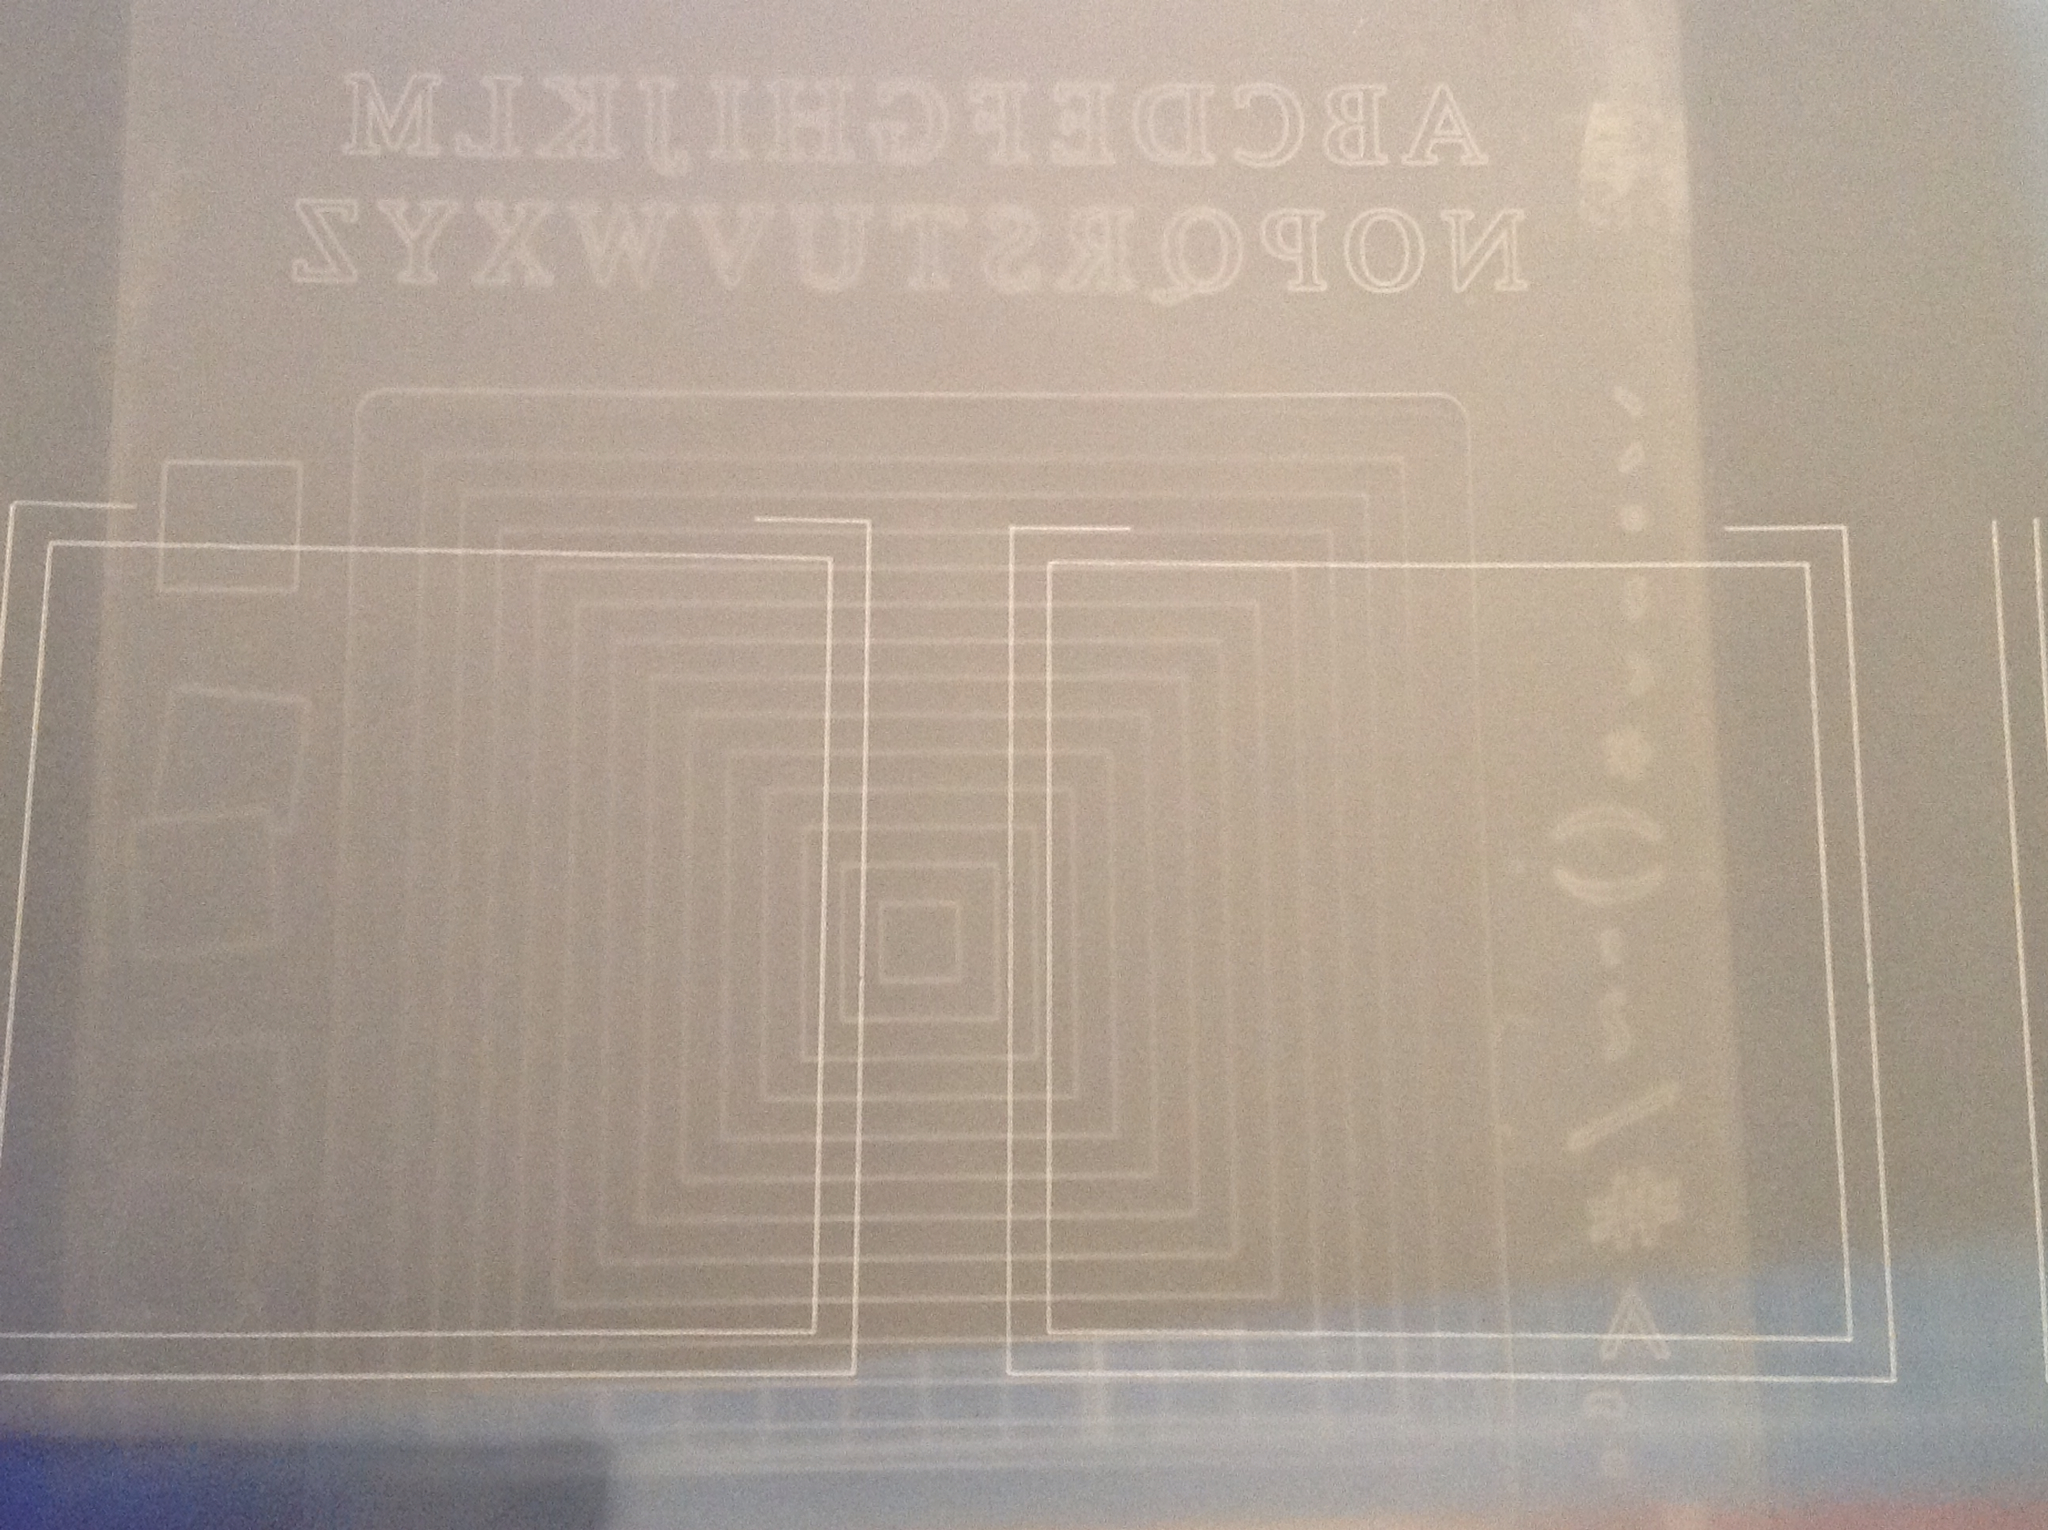
Right then, put the three sides of the 3rd square, and all of the 4th square.


 Put the flowers in the frill
 And the trellis
Use your white pencil in an upward sweep motion on the frill

And the trellis

Bit of pencil on the flowers too.

Put a name in if you want?

Colour if you want, it's your call!


Cut as in piccy, and add tape
Carefully fold score lines and put it together, does it look something like this?
I've had to blog this very quickly, so apologies if i missed anything, just Shout me if you have any questions!
OMG this is stunning! Love this xxx
ReplyDeleteHugs
Linda xxx
Fantastic and great instructions xx
ReplyDeleteFantastic and great instructions xx
ReplyDeleteFantastic my dear Maria. lOVE IT. HUGS XXX
ReplyDeleteAbsolutely blooming gorgeous. Xxx
ReplyDeleteBet you did a double take when you saw your name on it Dawn xxx
DeleteOh my Maria! How clever is this. I think I'm convinced. I need the groovi system! I've been resisting because I didn't think I'd use it, but after watching you today, I've changed my mind. Not sure whether that's a good thing or not, we'll see.
ReplyDeleteGreat shows and demos Maria. You are a natural. Xx
Don't resist any longer go for it you won't regret it , it is so easy to do. X
DeleteGreat explanation,thanks Maria
ReplyDeleteOh my I love this, will definitely have a go at this gorgeous project xx
ReplyDeleteFabulous Maria. You make it look so easy. Must have a try at this. Great shows: you're such a natural on TV. Xxx
ReplyDeletewonderful, wonderful shows and the bag - blew me away. Thank you so much and for the Christmas card, I was so touched that you remembered me. Looking forward to seeing you again. You are a star and so natural on the TV. My husband says hi to another Liverpudlian - we love to hear a bit of his place of birth.
ReplyDeleteBest wishes
Anne (Reading)
Brilliant Maria,I like so many others have been resisting the groovi system but I feel a change coming on! I only saw the 6 oclock show but you where Fab!Looking wonderful too! All the best xx
ReplyDeleteHi Maria, thanks so much for the tutorial. I tried to watch your show but the internet wasn't streaming properly. Didn't see hardly anything of your first hour and caught snippets of the second hour. I was so disappointed as I was so looking forward to your shows. Is it possible to post all the samples that you demonstrated. Would love to see what they were. Am sure they were gorgeous. Just love to watch you demonstrate and hopefully the next time you are on that the Internet will be working. As I live in Canada, I can't watch it on the tv.
ReplyDeletewow! love this, I'm just starting out with the Groovi system, and I'm really enjoying it, at the moment I'm a bit heavy handed but I'll get there eventually. You are really inspiring me Maria, just love your work. Thank you for the great tutorials. x
ReplyDelete