Hello!
I promised to blog a step by step for the little bag I demo'd at 6pm-actually, I haven't promised anything yet because it's only 5pm and I'm still in the green room waiting to go and do the 6pm show lol, but I will promise to blog, don't think about it too much or you'll get a headache lol.
So, on the assumption I said id do it, and on the assumption you liked the project, here is the step by step....
Start with A4 parchment
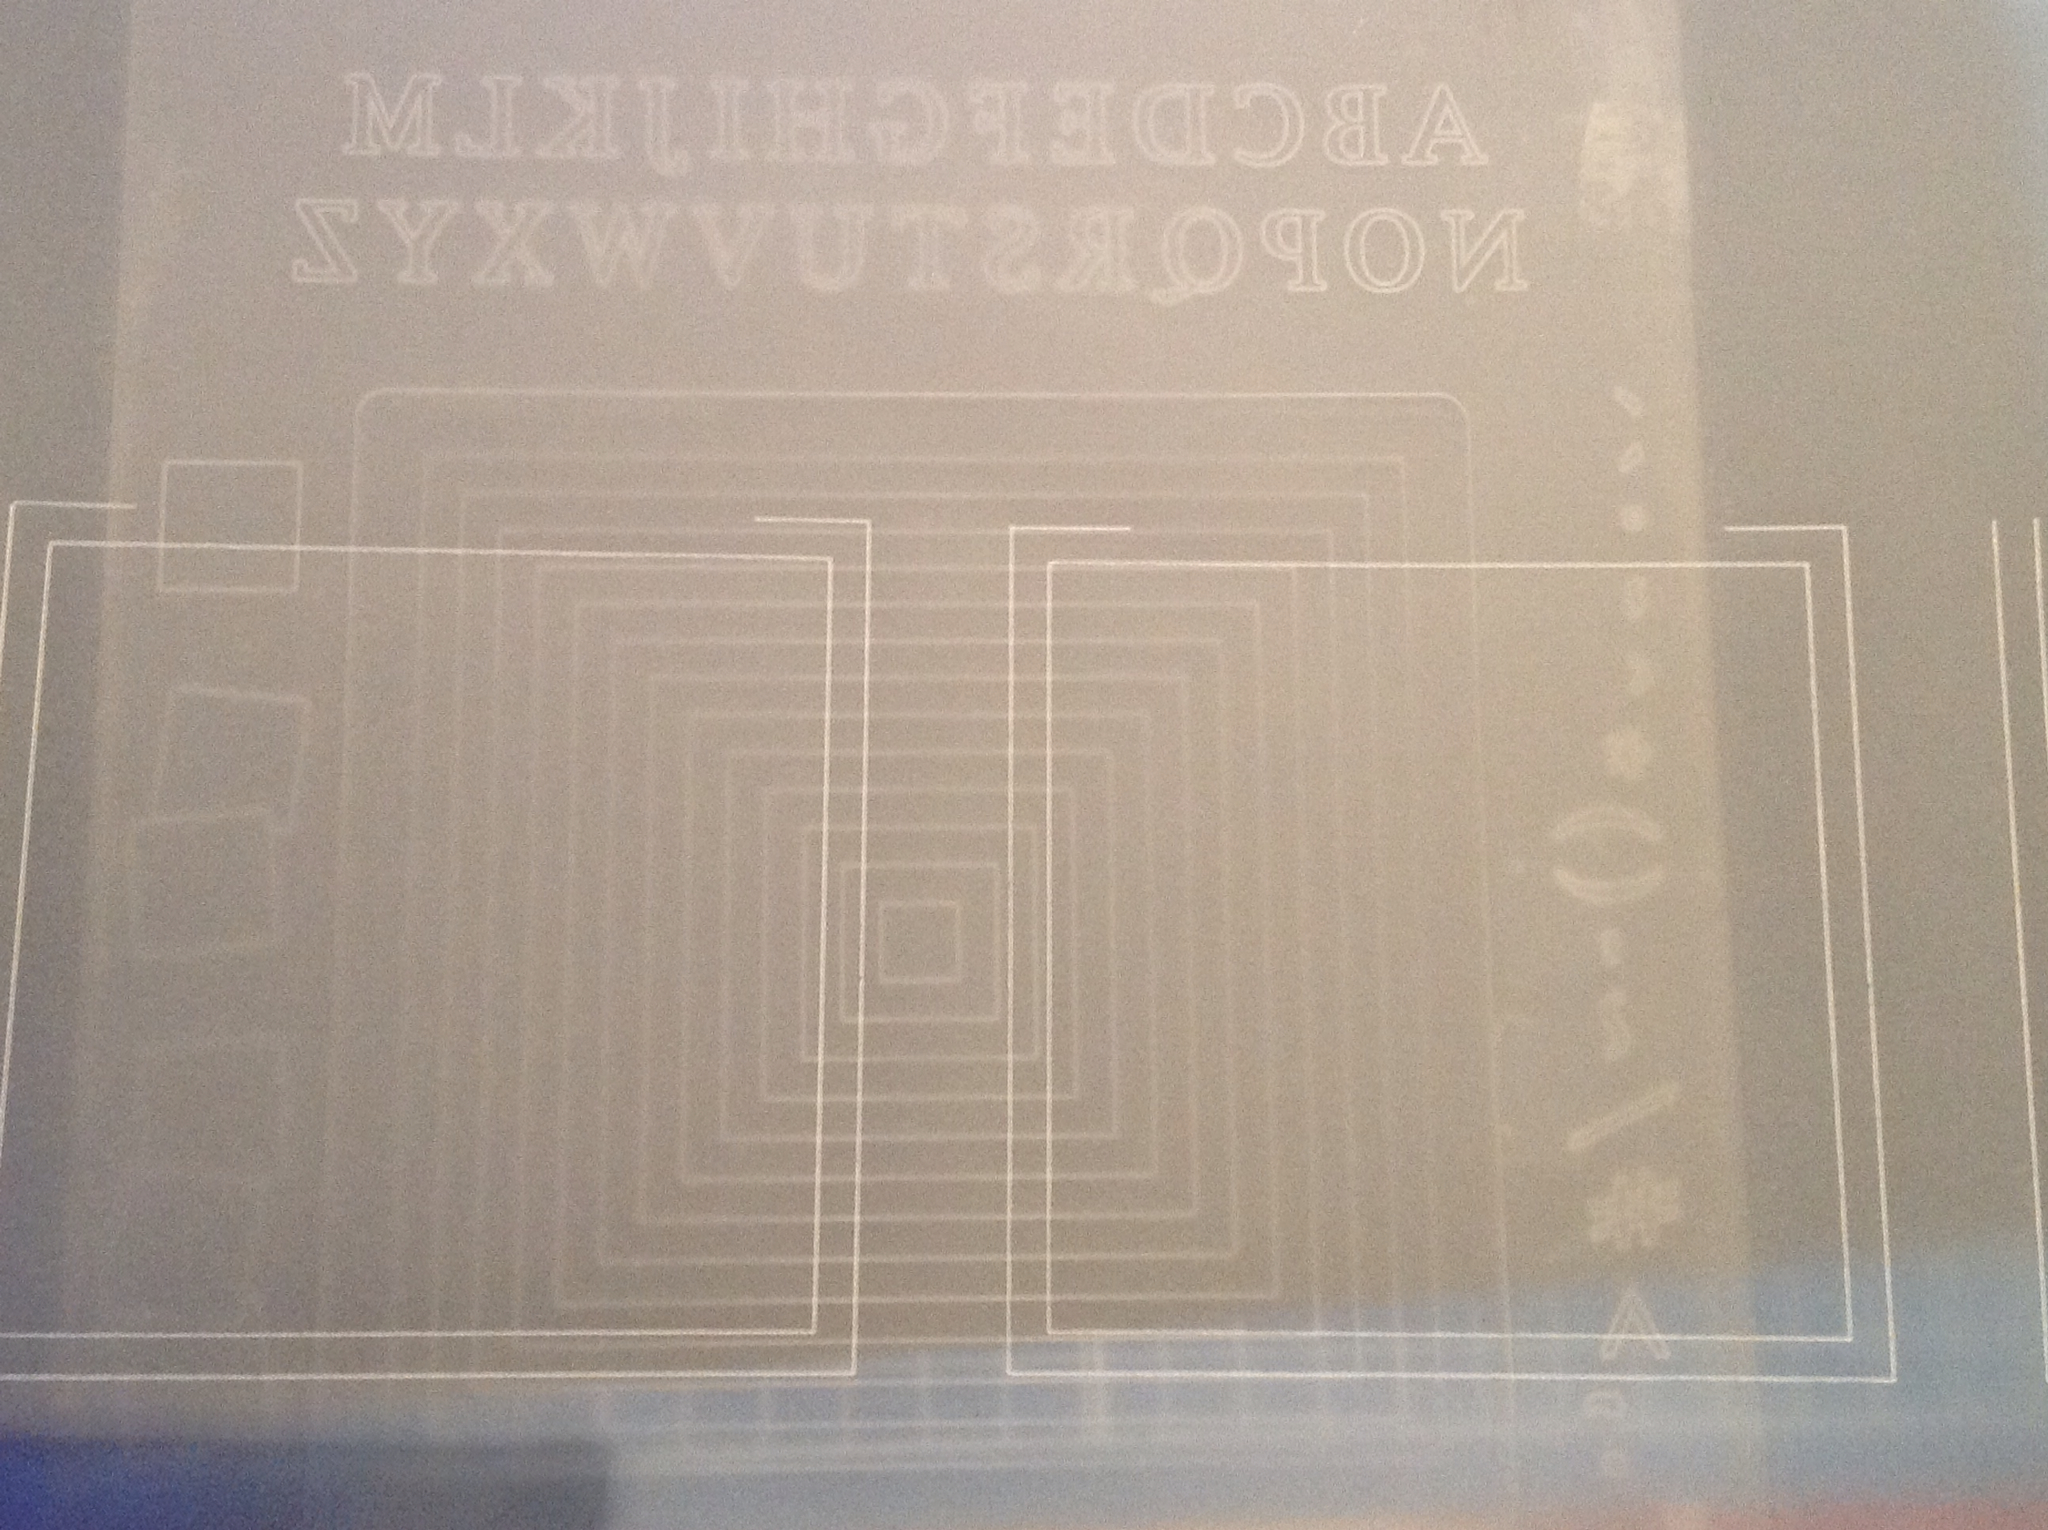
The left edge of the parchment is lined up against the side of the largest square, bottom of parchment is lined up with bottom edge of the plate.
Right then, put the three sides of the 3rd square, and all of the 4th square.
Slide parchment to the left, have a squint at the pic above to see where I'm lined up to, then repeat the 3rd and 4th squares.
Now put a tinsy bit in place at the top, see in the pic?
Using the circle plate, put the handle in place.
On both sides
Put part of the frill in place

Put the flowers in the frill

And the trellis
Use your white pencil in an upward sweep motion on the frill
And the trellis
Bit of pencil on the flowers too.
Put a name in if you want?
Colour if you want, it's your call!
Cut as in piccy, and add tape
Carefully fold score lines and put it together, does it look something like this?
I've had to blog this very quickly, so apologies if i missed anything, just Shout me if you have any questions!
Thanks for popping in!


 Posted with Blogsy